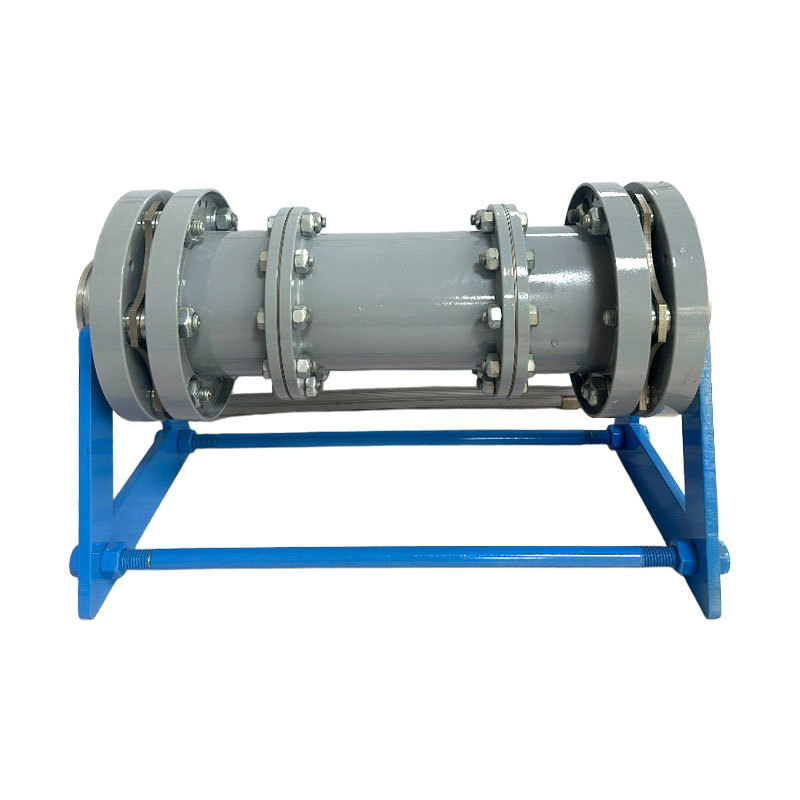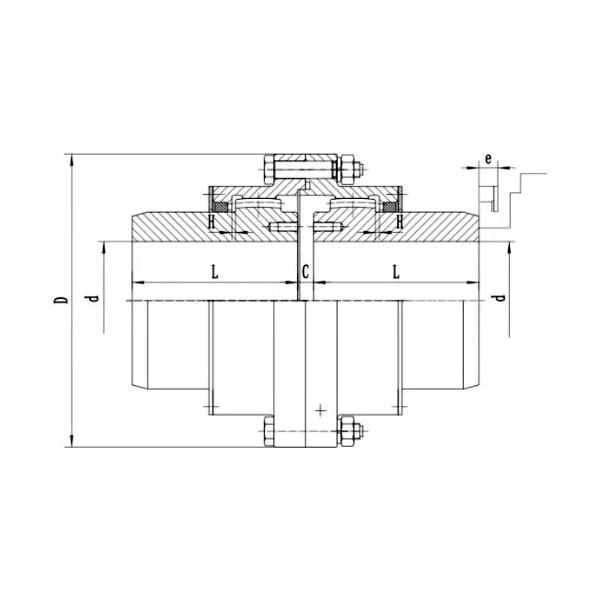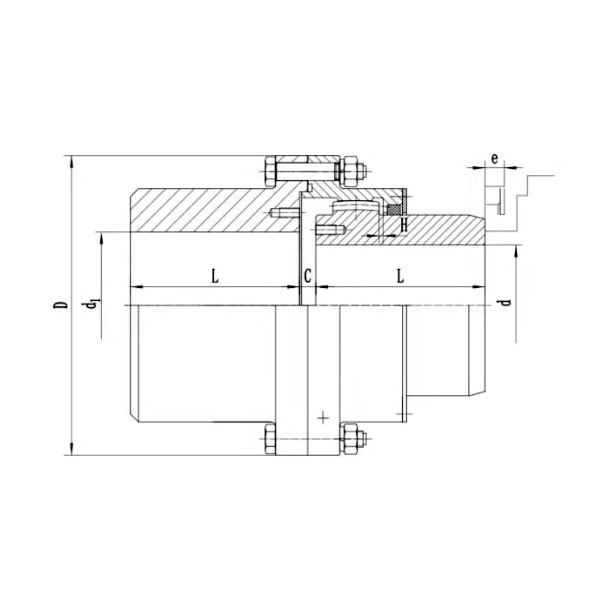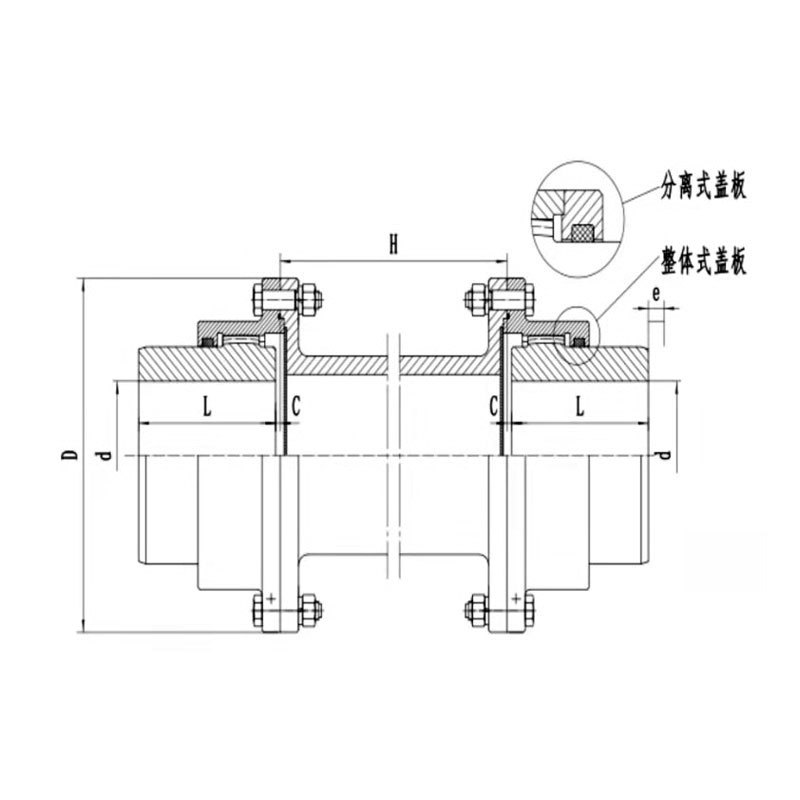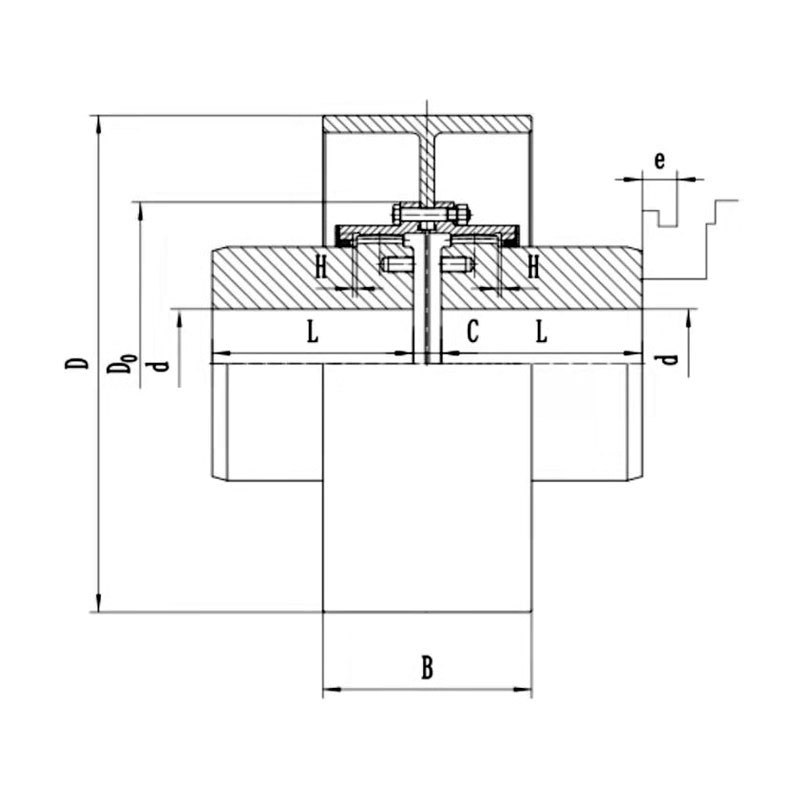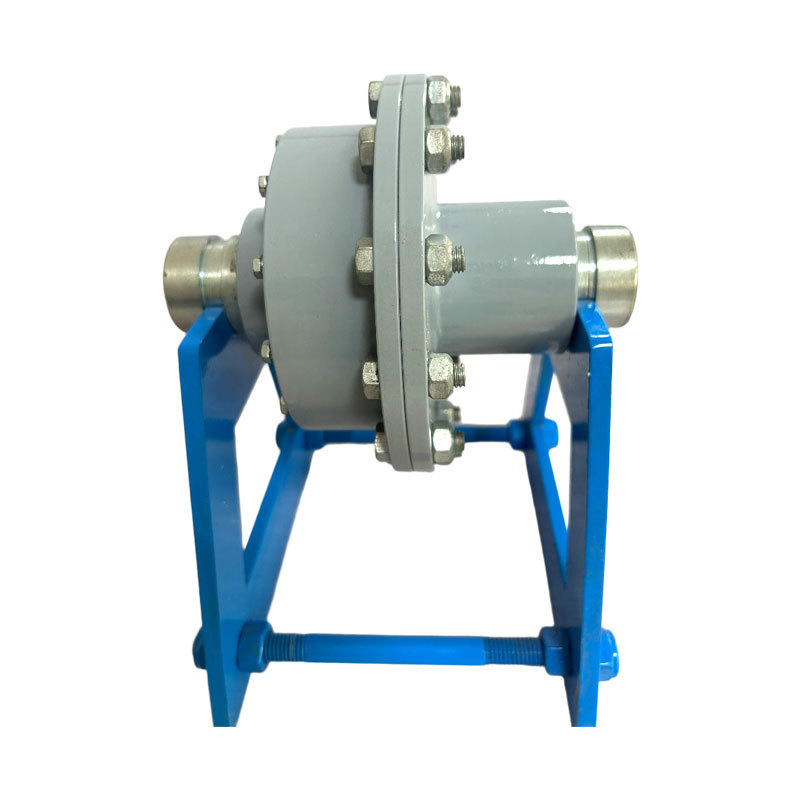

R-type diaphragm coupling
Category
Contact Information
Detailed introduction
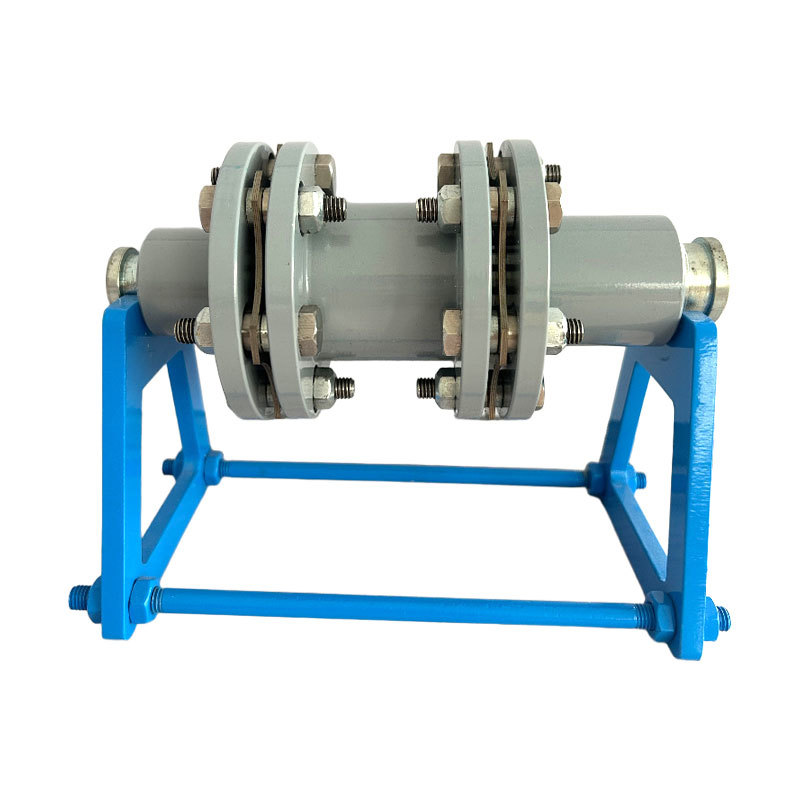
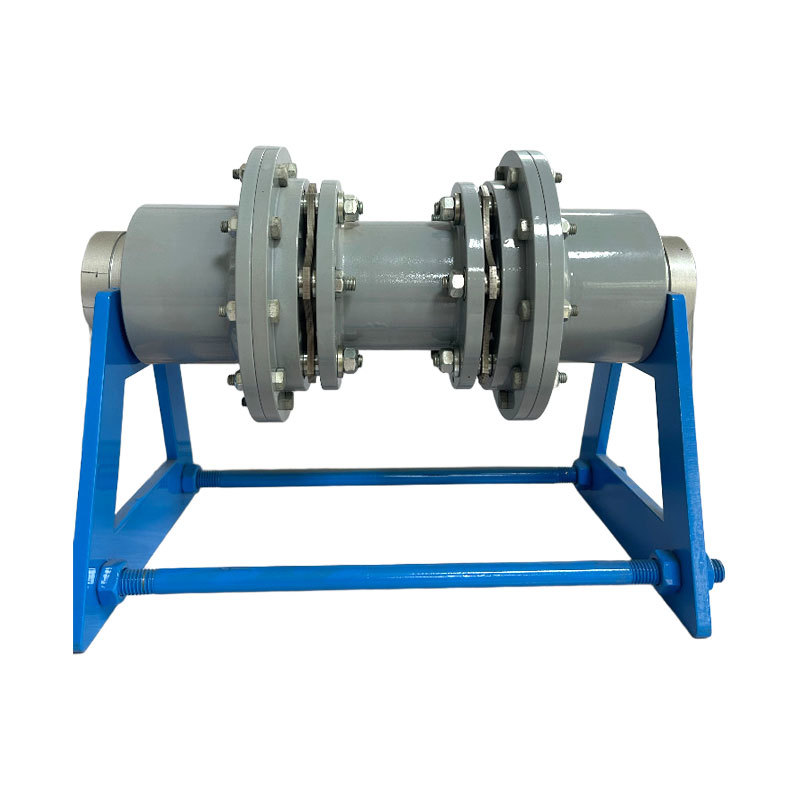
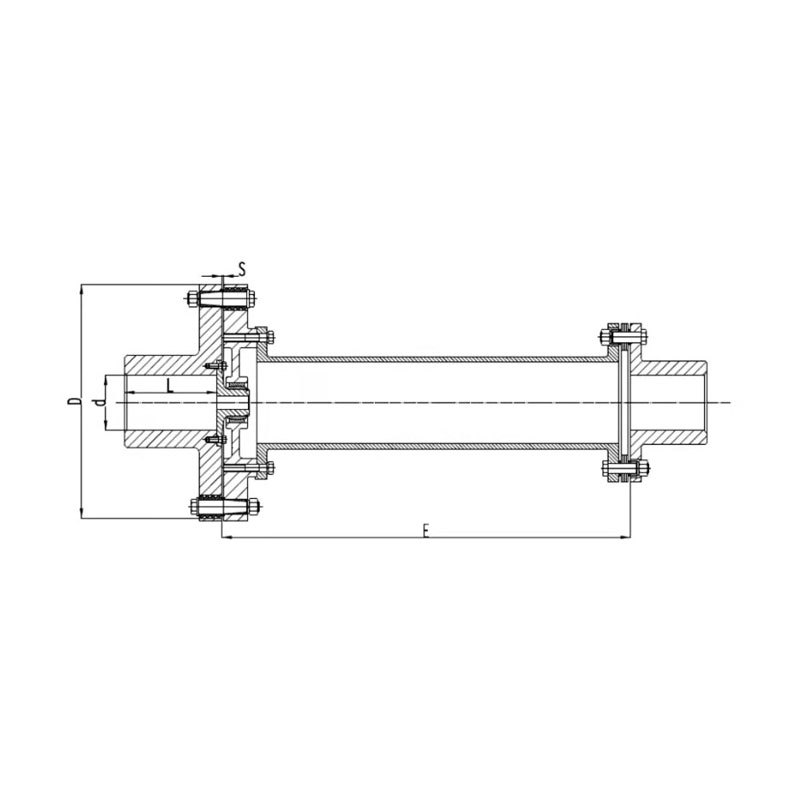
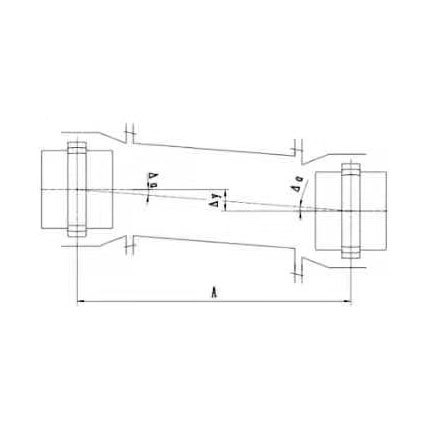
The R-type structure ensures that the center of gravity on both sides is as close as possible to the support bearings of the two units, minimizing additional bending moments at the rotor shaft end and thereby promoting smooth, high-speed operation. The flexible components—comprising the half-coupling, diaphragm assembly, and protective sleeve—have been fully assembled prior to leaving the factory and are connected to the intermediate section via a stop collar. The entire coupling can be installed and removed as a single unit, and even after multiple disassemblies and reassemblies, it maintains permanent alignment and dynamic balance. The large distance between the two flexible elements (diaphragms) enables the coupling to effectively absorb misalignment between the units. The intermediate section, which is sufficiently long, can be easily removed, allowing the half-coupling to be taken off the shaft without having to move the entire unit—this also applies during installation. Shims at both ends of the intermediate section can be added or removed to compensate for installation errors and to facilitate pre-stretching, thereby accommodating thermal expansion or other dynamic misalignments of the units.
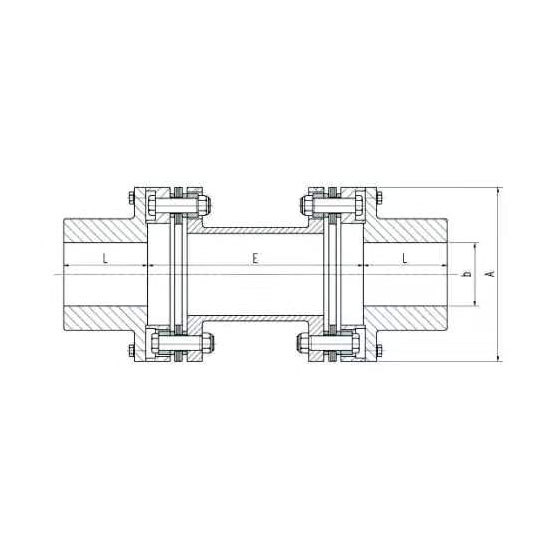
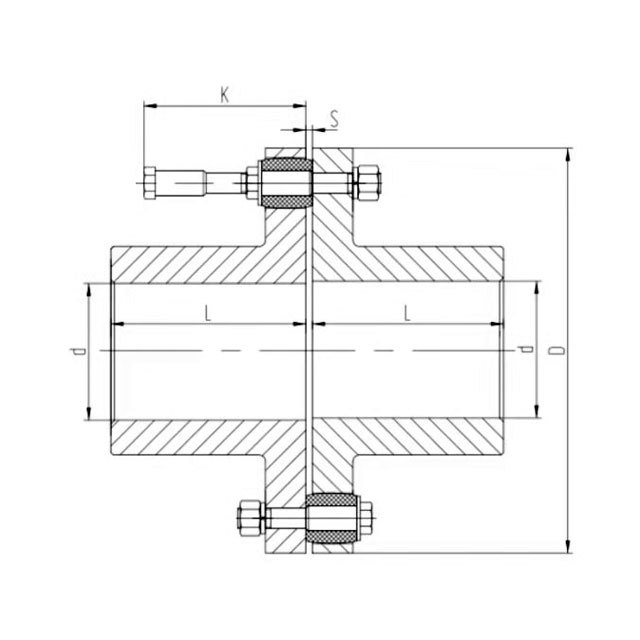
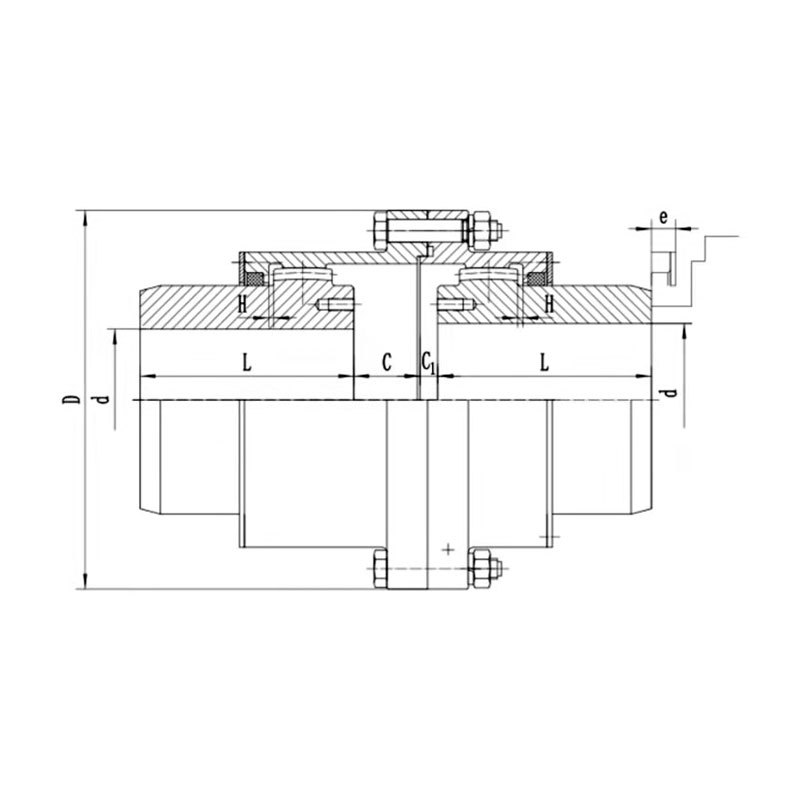
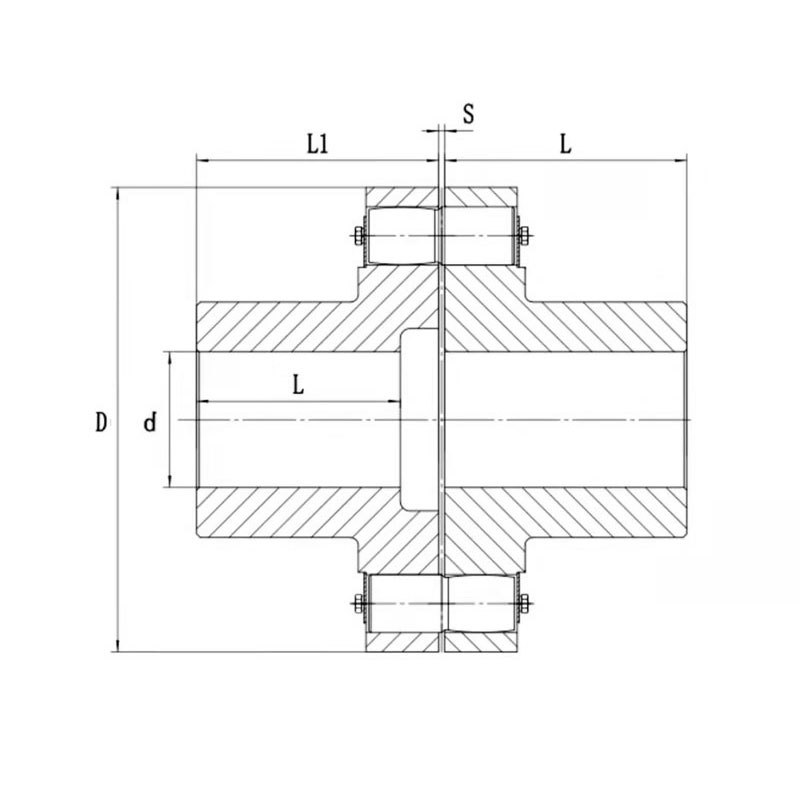
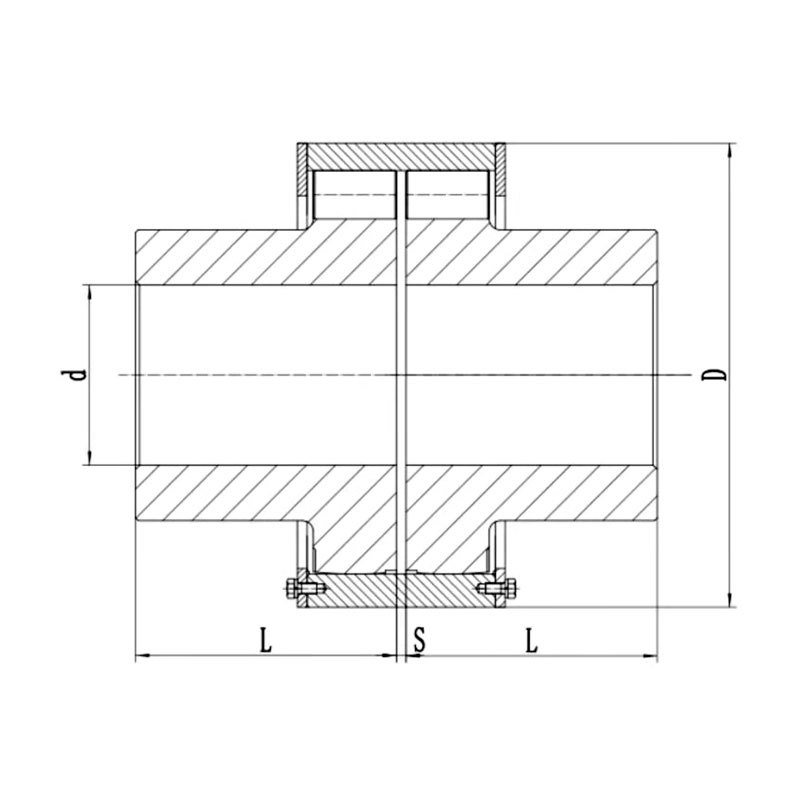
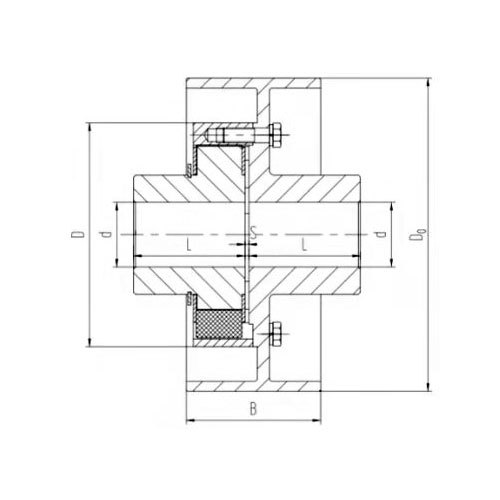
Its structural configuration is shown in Figure 2.5, and the technical parameters and main dimensions are listed in Table 2-6 and Table 2-7.

Figure 2.5 R-type diaphragm coupling
Table 2-6: Main Dimensions of Type R Diaphragm Coupling
| Model | A | bmax | L | Emin | ||
| 6090 | 95 | 35 | 40 | 160 | ||
| 6120 | 122 | 50 | 55 | 170 | ||
| 6150 | 150 | 60 | 65 | 190 | ||
| 6170 | 170 | 65 | 70 | 210 | ||
| 6190 | 190 | 75 | 75 | 230 | ||
| 6210 | 210 | 85 | 85 | 230 | ||
| 6240 | 8240 | 240 | 105 | 100 | 250 | |
| 6260 | 8260 | 265 | 115 | 110 | 260 | |
| 6280 | 8280 | 280 | 125 | 120 | 260 | |
| 6310 | 8310 | 1310 | 310 | 140 | 140 | 270 |
| 8340 | 1340 | 340 | 150 | 150 | 290 | |
| 8370 | 1370 | 370 | 165 | 170 | 310 | |
| 8400 | 1400 | 400 | 180 | 180 | 320 | |
| 8430 | 1430 | 430 | 195 | 200 | 390 | |
| 8460 | 1460 | 460 | 205 | 210 | 400 | |
| 1490 | 490 | 220 | 220 | 410 | ||
| 1520 | 516 | 235 | 235 | 450 | ||
| 1560 | 560 | 255 | 250 | 460 | ||
| 1600 | 600 | 280 | 290 | 480 | ||
Table 2-7 Technical Parameters of Type R Diaphragm Coupling
| Model | Permissible Torque Coefficient (kW/rpm) |
Nominal torque Mr. (KNm) |
Peak torque (KNm) |
Maximum rotational speed (rpm) |
The entire coupling | Intermediate pipe per meter | Allow axial displacement | Allow angular misalignment (°) |
|||||
| Weight (kg) |
Moment of inertia (kg·m²) |
Torsional stiffness TS (Nm/rad) |
Weight (kg) |
Moment of inertia (kg·m²) |
Torsional stiffness You (MNm/rad) |
Coupling (mm) |
Steering force (N) |
||||||
| 6090 | 0.05 | 0.5 | 0.62 | 35000 | 4.50 | 0.004 | 0.09 | 3.30 | 0.003 | 0.03 | 1.2 | 480 | 0.375 |
| 6120 | 0.11 | 1.1 | 1.37 | 30000 | 6.50 | 0.010 | 0.16 | 4.13 | 0.004 | 0.04 | 1.8 | 790 | 0.375 |
| 6150 | 0.17 | 1.7 | 2.12 | 26000 | 13.00 | 0.032 | 0.30 | 5.50 | 0.011 | 0.12 | 2.1 | 1000 | 0.375 |
| 6170 | 0.28 | 2.8 | 3.50 | 24000 | 19.00 | 0.070 | 0.43 | 6.14 | 0.015 | 0.16 | 2.9 | 1500 | 0.375 |
| 6190 | 0.48 | 4.8 | 6.00 | 22000 | 26.00 | 0.110 | 0.70 | 9.85 | 0.032 | 0.33 | 3.1 | 1800 | 0.375 |
| 6210 | 0.78 | 7.8 | 9.75 | 20000 | 34.00 | 0.170 | 1.18 | 12.70 | 0.052 | 0.55 | 3.5 | 1900 | 0.375 |
| 6240 | 1.20 | 12 | 15.00 | 17500 | 50.00 | 0.380 | 2.05 | 15.92 | 0.090 | 0.92 | 4.2 | 2600 | 0.375 |
| 6260 | 1.50 | 15 | 18.75 | 16800 | 61.00 | 0.560 | 2.63 | 18.56 | 0.180 | 1.90 | 4.6 | 2900 | 0.375 |
| 6280 | 1.75 | 17.5 | 21.87 | 16000 | 72.00 | 0.700 | 3.08 | 22.00 | 0.290 | 2.92 | 5.0 | 3300 | 0.375 |
| 6310 | 2.36 | 23.6 | 29.50 | 13500 | 88.00 | 1.100 | 5.10 | 29.94 | 0.300 | 3.05 | 5.5 | 4000 | 0.375 |
| 8240 | 1.5 | 15.0 | 18.75 | 17500 | 50.00 | 0.400 | 2.20 | 15.72 | 0.090 | 0.92 | 2.5 | 3000 | 0.250 |
| 8260 | 1.75 | 17.5 | 21.87 | 16000 | 61.00 | 0.560 | 2.63 | 18.56 | 0.180 | 1.90 | 2.8 | 3500 | 0.250 |
| 8280 | 2.68 | 26.8 | 33.50 | 16000 | 72.00 | 0.810 | 4.00 | 22.00 | 0.290 | 2.92 | 3.1 | 4000 | 0.250 |
| 8310 | 2.96 | 29.6 | 37.00 | 13500 | 89.00 | 1.200 | 5.50 | 29.94 | 0.300 | 3.05 | 3.8 | 4900 | 0.250 |
| 8340 | 3.75 | 37.5 | 46.87 | 12000 | 135.00 | 1.960 | 8.00 | 38.28 | 0.460 | 4.63 | 4.2 | 7000 | 0.250 |
| 8370 | 4.70 | 47.0 | 58.75 | 11000 | 160.00 | 3.000 | 10.50 | 47.50 | 0.690 | 6.95 | 4.6 | 8900 | 0.250 |
| 8400 | 6.30 | 63.0 | 78.75 | 10000 | 204.00 | 4.000 | 12.10 | 55.60 | 0.950 | 9.60 | 5.1 | 10000 | 0.250 |
| 8430 | 8.00 | 80.0 | 100.00 | 9500 | 275.00 | 6.000 | 15.00 | 63.80 | 1.350 | 13.90 | 5.9 | 12000 | 0.250 |
| 8460 | 8.50 | 85.0 | 106.25 | 9000 | 325.00 | 7.100 | 19.00 | 75.62 | 1.750 | 18.00 | 6.3 | 14000 | 0.250 |
| 8490 | 10.50 | 105.0 | 131.25 | 8500 | 385.00 | 11.200 | 23.00 | 80.60 | 2.100 | 22.00 | 6.8 | 15000 | 0.250 |
| 1310 | 3.92 | 39.2 | 49.85 | 13500 | 89.00 | 1.250 | 5.80 | 29.94 | 0.300 | 3.05 | 2.4 | 8000 | 0.165 |
| 1340 | 4.87 | 48.7 | 61.90 | 12000 | 136.00 | 2.000 | 8.30 | 38.28 | 0.460 | 4.63 | 2.8 | 15000 | 0.165 |
| 1370 | 6.25 | 62.5 | 79.35 | 11000 | 161.00 | 3.050 | 11.00 | 47.50 | 0.690 | 6.95 | 3.2 | 16500 | 0.165 |
| 1400 | 8.40 | 84.0 | 106.65 | 10000 | 205.00 | 4.080 | 12.50 | 55.60 | 0.950 | 9.60 | 3.6 | 19000 | 0.165 |
| 1430 | 10.65 | 106.5 | 135.50 | 9500 | 276.00 | 6.100 | 15.50 | 63.80 | 1.350 | 13.90 | 4.0 | 21000 | 0.165 |
| 1460 | 11.3 | 113.0 | 143.50 | 9000 | 326.00 | 7.200 | 19.60 | 75.60 | 1.750 | 18.00 | 4.3 | 22000 | 0.165 |
| 1490 | 14.00 | 140.0 | 177.80 | 8500 | 387.00 | 12.000 | 23.80 | 80.60 | 2.100 | 22.00 | 4.7 | 23000 | 0.165 |
| 1520 | 16.50 | 165.0 | 206.25 | 7700 | 468.00 | 16.500 | 25.00 | 86.00 | 2.550 | 26.00 | 5.0 | 27000 | 0.165 |
| 1560 | 18.30 | 183.0 | 228.75 | 7500 | 578.00 | 22.500 | 34.50 | 93.50 | 3.300 | 34.50 | 5.7 | 30000 | 0.165 |
| 1600 | 26.00 | 260.0 | 325.00 | 7000 | 660.00 | 29.200 | 45.80 | 142.00 | 5.200 | 54.71 | 6.2 | 35000 | 0.165 |
Note:
1. The parameters in the technical data sheet are all based on the dimensions provided in the size chart.
2. Users often request changes to the shaft-to-shaft distance E; the parameters of the deformed coupling can be easily calculated based on the data provided in the table.

T = Torsional stiffness
E = New spindle center distance
3. For other changes, please contact Schenker’s Engineering Department.
To better meet various application requirements, Schunk has launched a series of diaphragm couplings with special structures.
For details, please refer to the Schunk diaphragm coupling catalog.
Keywords
Online Consultation
Contact us today for a free expert consultation!
Related Products

